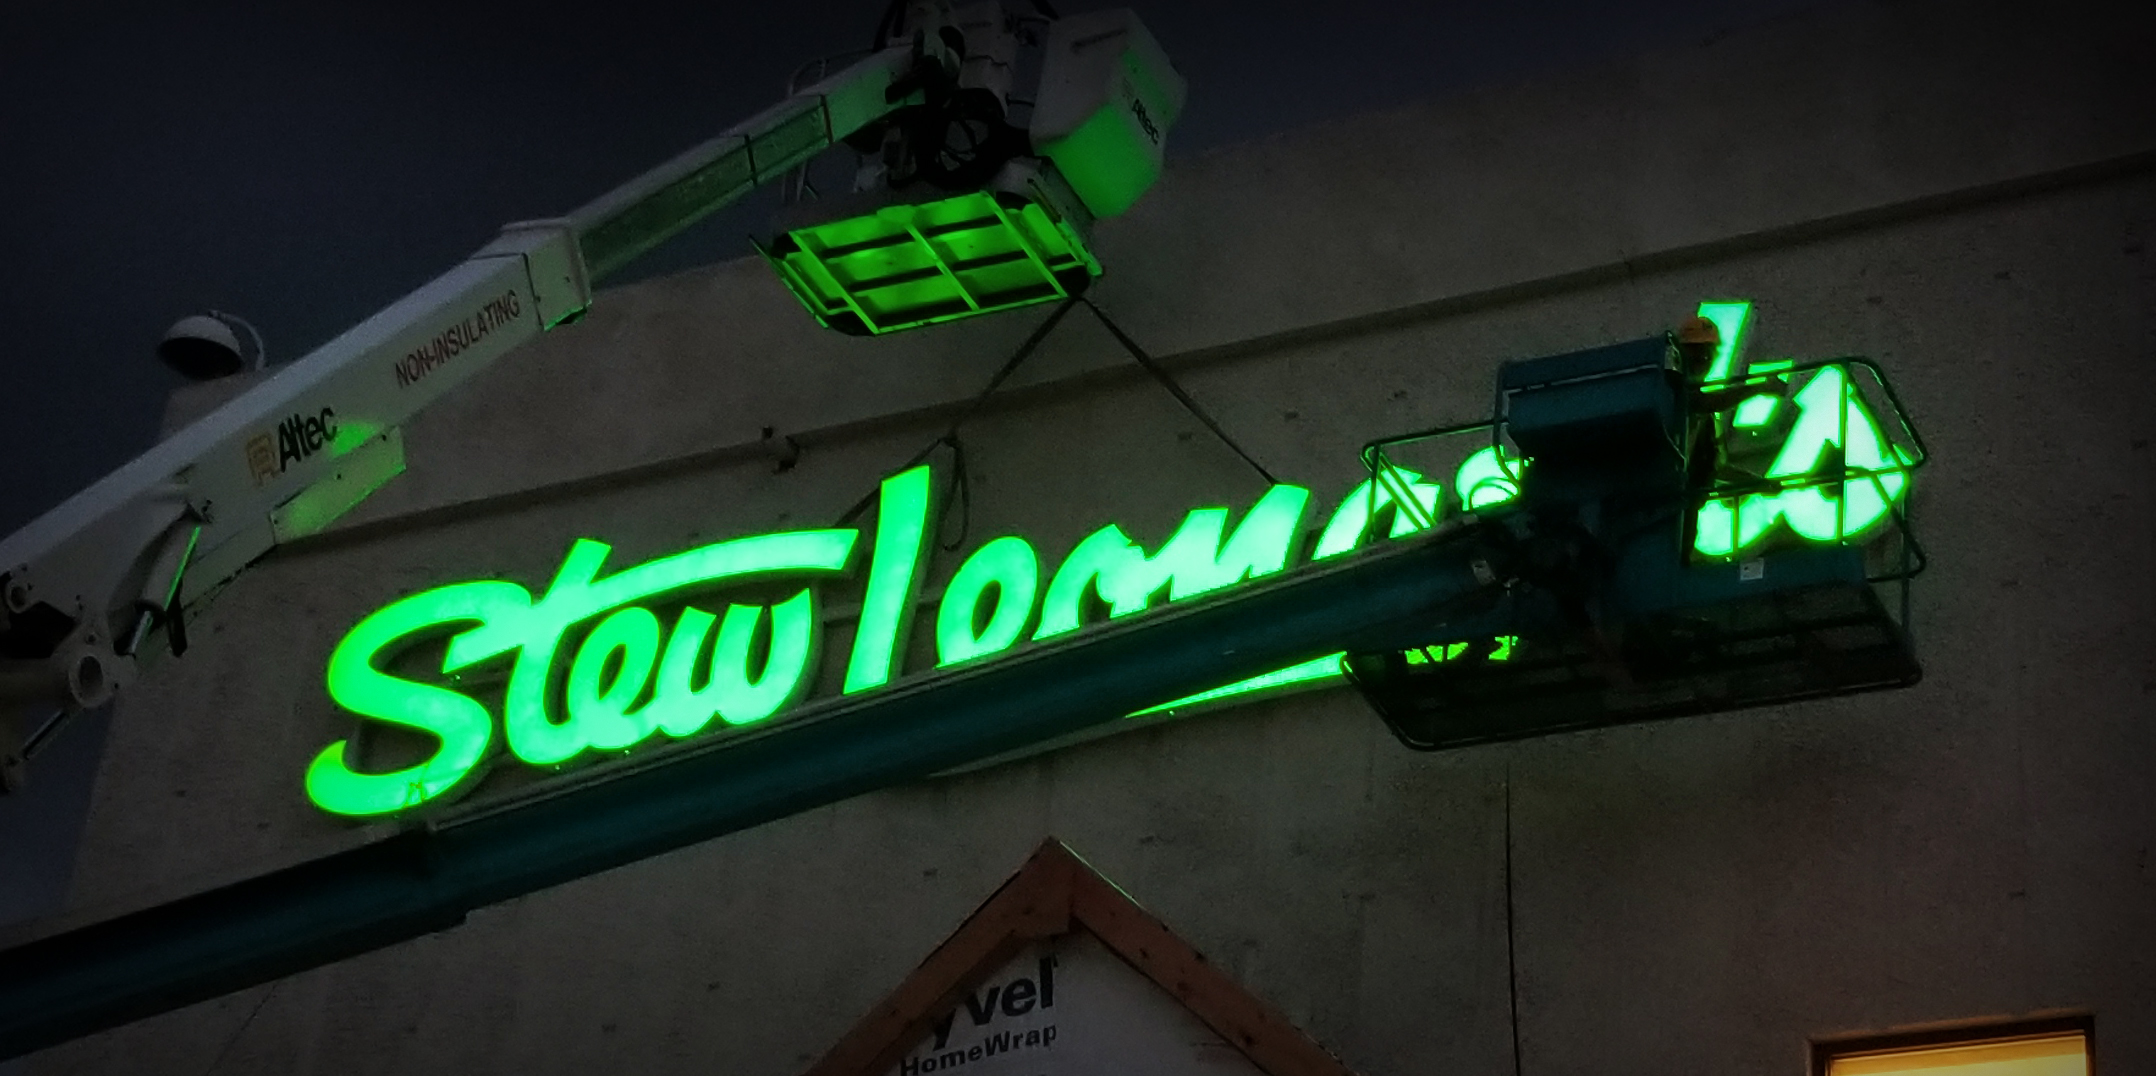
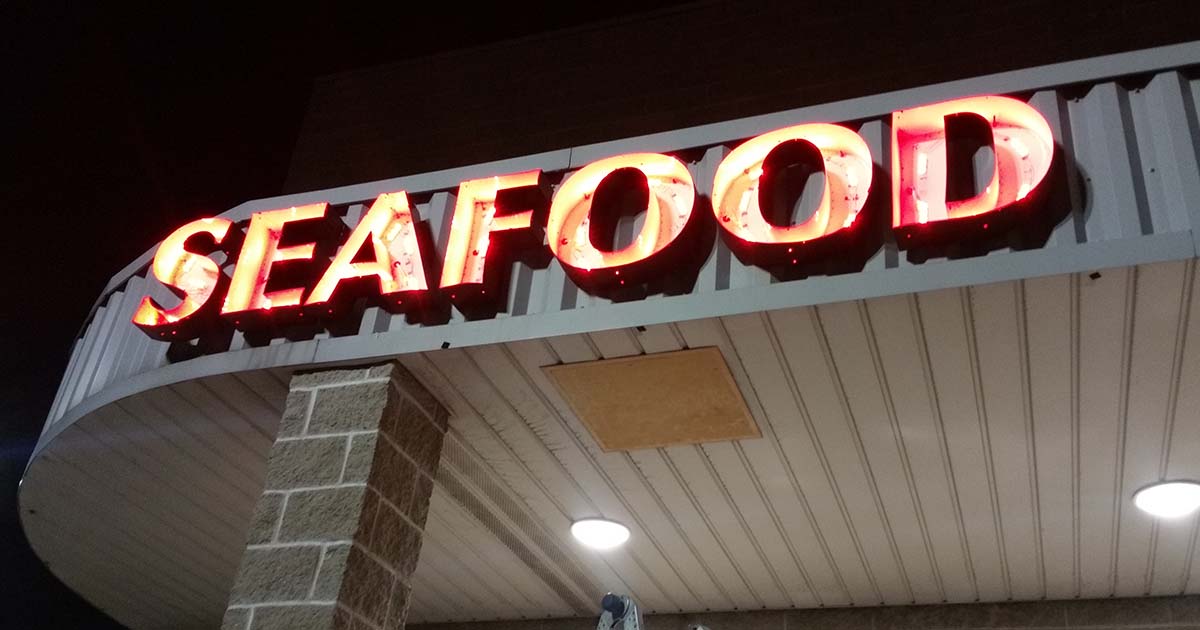
Signage, which has existed since before the time of ancient Greece, has undergone many changes over the past millennia. One of the most recent advancements in the sign industry was the invention of LED lighting. Due to their affordability, brightness and low energy consumption, LED’s have largely replaced neon as the first choice in sign illumination. However, because neon was so prevalent during the era of electrification, there are many signs today that still use it. In fact, neon was so popular in the 1950’s, that it has actually made a comeback as businesses seek to capture a vintage aesthetic.
However, not everyone wants to channel an industrial/50’s diner/old motel look. Sometimes businesses just want to make sure people see that they are open, and customers can find them during nighttime hours. Sometimes, replacing an entire sign is too costly. Fortunately, we can offer a simple solution: an LED Retrofit.

What is an LED retrofit?
Simply put, an LED retrofit is when we remove old neon or fluorescent tubing from an existing channel letter or cabinet and install LED modules in their place.
Why retrofit?
We’ve already mentioned the cost benefits of installing LED’s. But there are other benefits to this as well. LED’s modules are brighter, consume less energy and are more durable. They are also less expensive and easier to repair/replace. All of these factors make LED’s the most affordable lighting option on the market today.
Is a retrofit right for you?
Given the benefits, you’ve probably already decided that LED’s are something you want, and we’d love to help. But there are reasons not to move forward with a retrofit. To help you determine whether a retrofit is the best solution for you, we’d like to explain a bit more about the process.
[Best_Wordpress_Gallery id=”12″ gal_title=”Channel Letter Defects”]
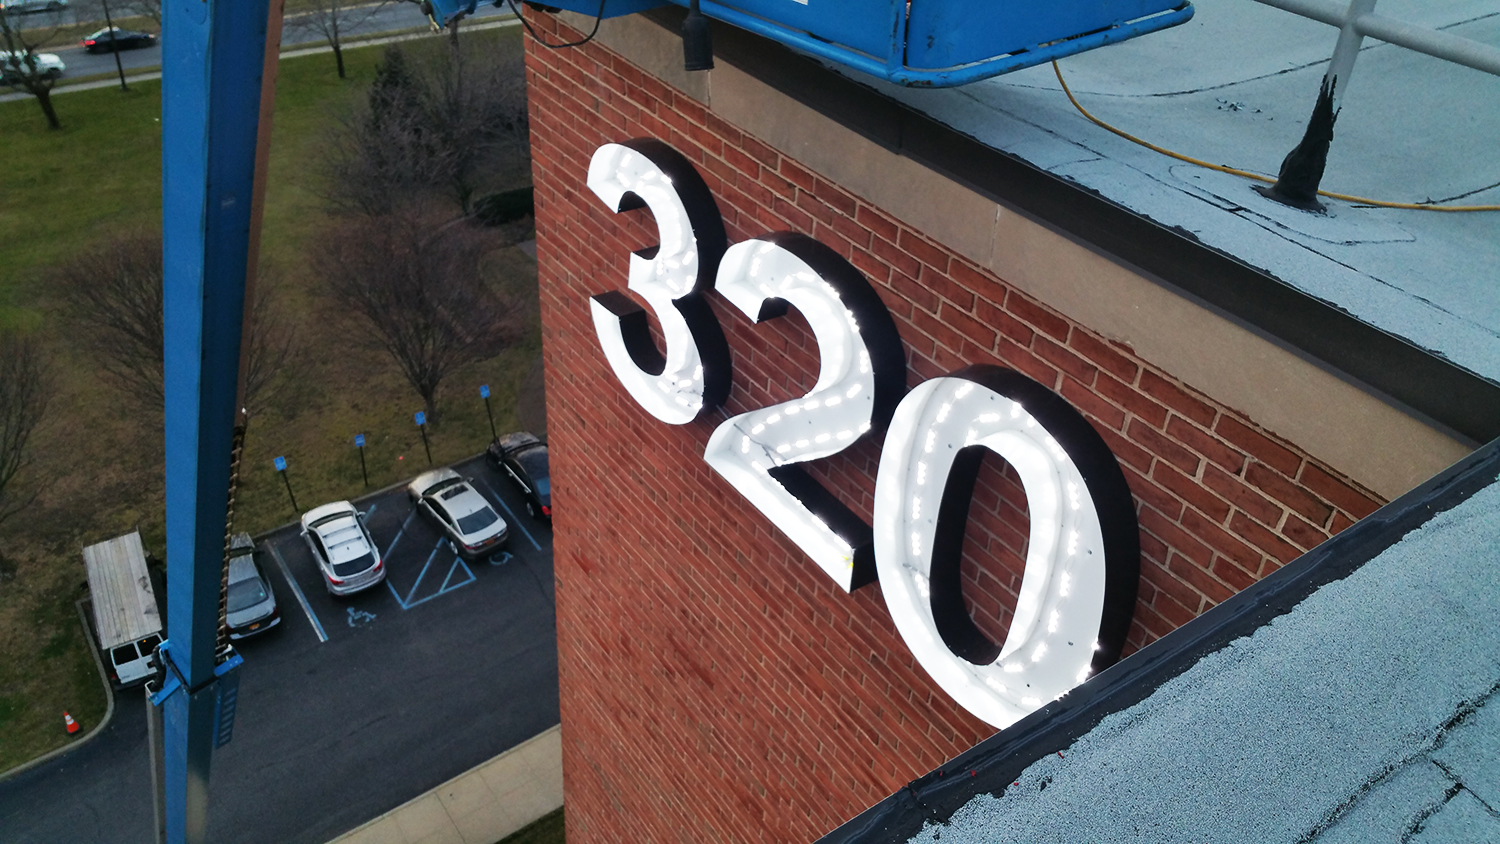
One of the first steps to any exterior signage project is a survey. We do this for three reasons: to check the condition of the sign, to measure its size so we can determine the amount of LED’s needed for the retrofit and to look for electrical issues.
We start our survey by inspecting the cans. Corroded, twisted or sagging metal will need to be replaced which increases the scope and cost of the retrofit. If only the sign faces are weathered, the retrofit can proceed, but the sign will not look like new. In these instances, we can perform a reface as well. We recommend replacing all the faces on a channel letter sign at once, since new faces will often look cleaner and brighter than what is existing, even if they are made from the exact same material.
All vinyl will crack and peel over time, but vinyl outdoor durability ratings can vary from 3 years to 10 years. The cheaper the vinyl product, the shorter its lifespan.
In the images below you can see what a difference a reface can make. In the image on the left, the client chose to replace only the broken letter face to save money. On the right, all the faces were replaced, resulting in a like-new sign.


In the images below you can see what a difference a reface can make. In the first image, the client chose to replace only the broken letter face to save money. In the second, all the faces were replaced, resulting in a like-new sign.
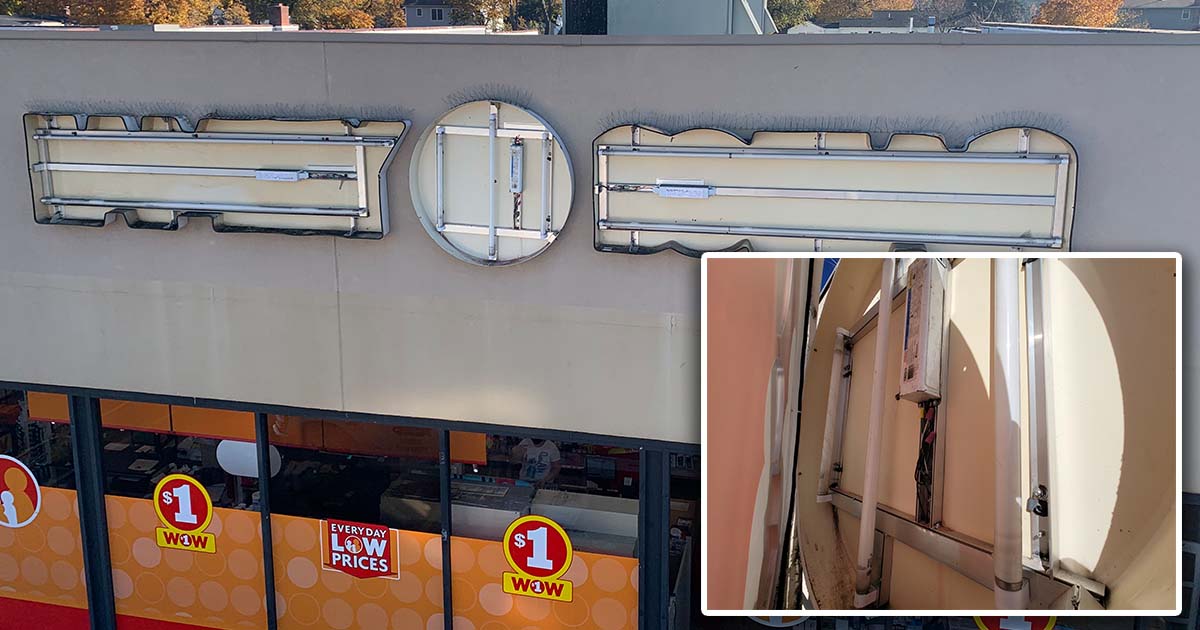
Customers usually ask to do a retrofit because their sign is not illuminating. So, once we’ve established the exterior condition, we look inside for electrical issues. If there is no electrical connection to the sign, a new supply line will need to be established by a licensed electrician. (There is no benefit to completing a retrofit if there is no power run to the LEDs!) Fortunately, most lighting failures occur when a bulb or power supply for the sign fails, so, most retrofit projects can proceed as normal.
Retrofit Process
Once the survey is complete, we should know the full scope of a project and can provide an accurate quote. With customer approval, the real work begins.
Step 1
At the beginning of a retrofit, we shut off power to the sign and remove all the old bulbs and power supplies. It is important that the original power supplies be taken out along with everything else. Any mismatch between power supply brand and lights will void the manufacturer warranties on said products.
Step 2
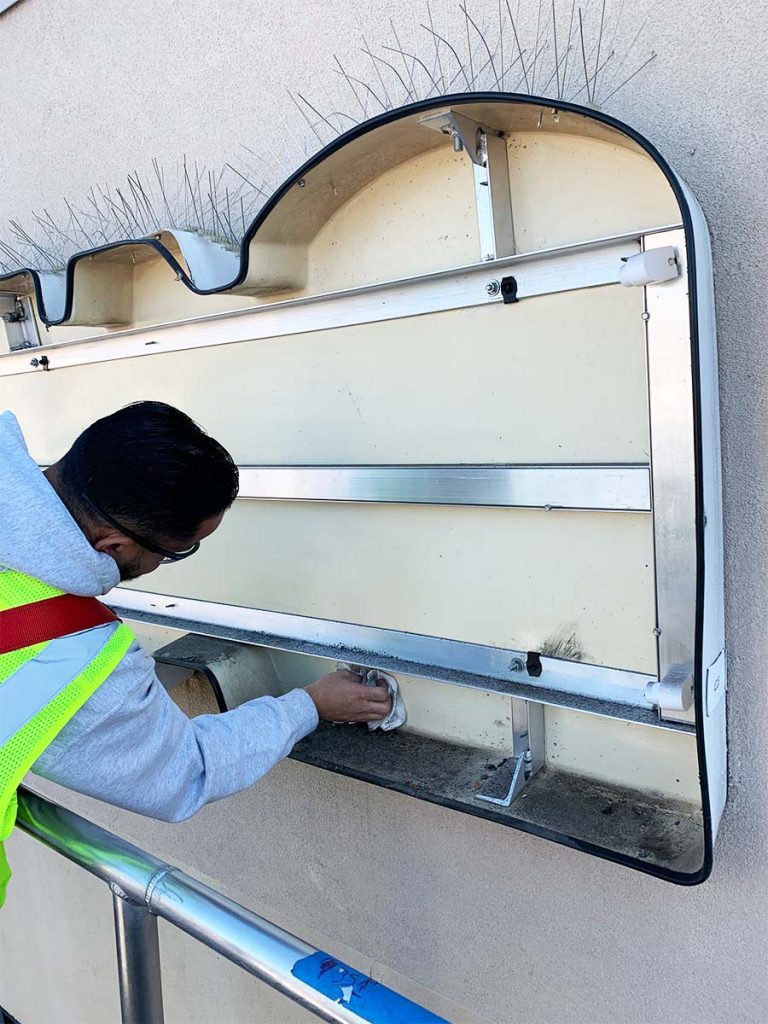
Once the sign is empty, we thoroughly clean the backs of the cans to remove any dust and debris. This ensures that the adhesive used to install the LED’s will not fail.
Step 3
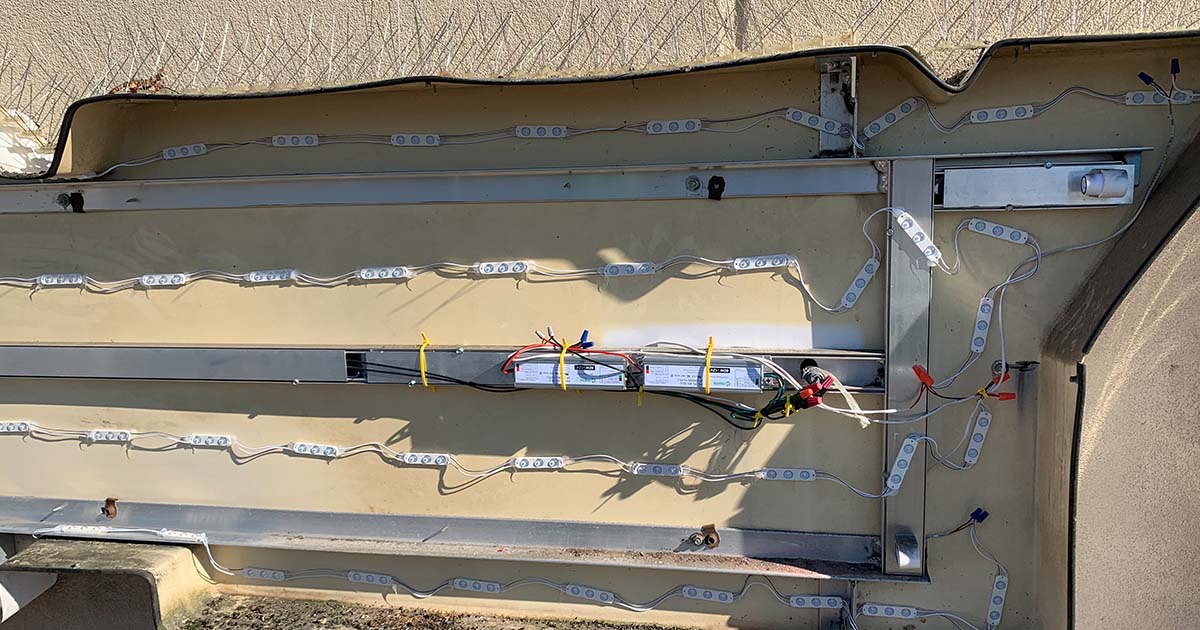
Next, we position LED modules within the sign, using our years of experience and manufacturer specifications to guarantee even lighting. We don’t want to create shadows or hot spots! We also always follow manufacturer specifications to determine the number of modules that can be supported by each power supply. Overloading a power supply will reduce the life of the unit, but a proper and even power distribution will ensure long-lasting, low-maintenance illumination.
Step 4
As soon as the new LED’s and power supplies are in place, we restore power to the sign and make sure that it is lighting properly.
Step 5
Finally, we clean and attach the sign faces. The final result is a well-lit sign that often looks like new.

We hope this article proves a useful guide on the LED retrofit process. If you have any questions about this information, or want to know how we can help you with your signage project, please call 631-446-1121 or submit a request via our contact page.